Radio List
You have to go through a four-step form wizard to enable this Control, i.e., Design, Validation, API & Advance. Let’s explain these steps below:
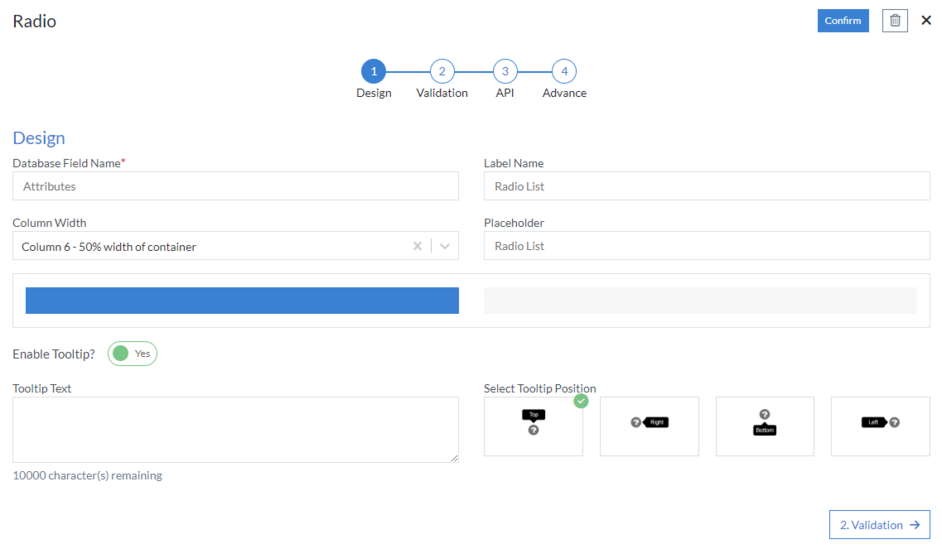
1st Step – Design
This is the first step of the “Radio List” control form wizard. Here you are required to fill in the following details:
- Database Field Name (mandatory): These are the attributes of the form
- Label Name
- Column Width
- Placeholder
-
Enable Tooltip?: This button is set as “Yes” if you need to
enable Tooltip Text in this Control
- Tooltip Text
- Select Tooltip Position: Select tooltip position from the following Top, Right, Bottom or Left
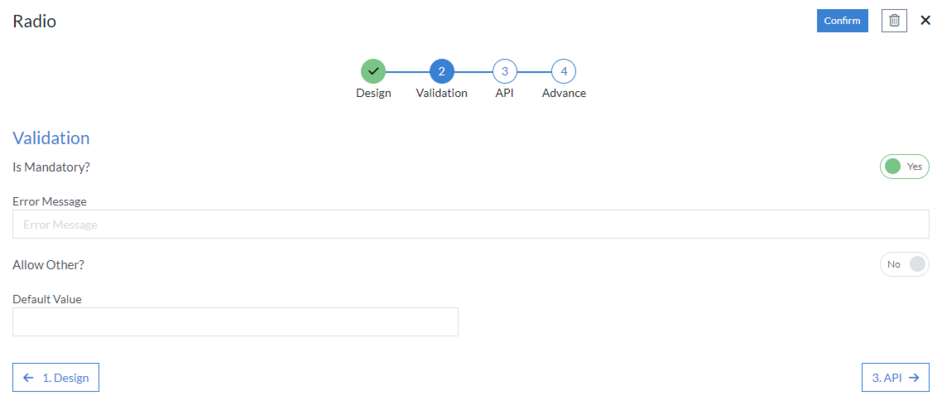
2nd Step – Validation
-
Is Mandatory?: This button is set as “Yes” if you need to apply
this Control as mandatory
- Error Message: Here, you can define the error message that will be displayed if this control is left blank.
- Allow Other?: This field is used to take user input, if options in the radio list are not relevant as per user.
- Default Value: As the name suggests, it defines a default value for a field. This default value can be changed by user input.
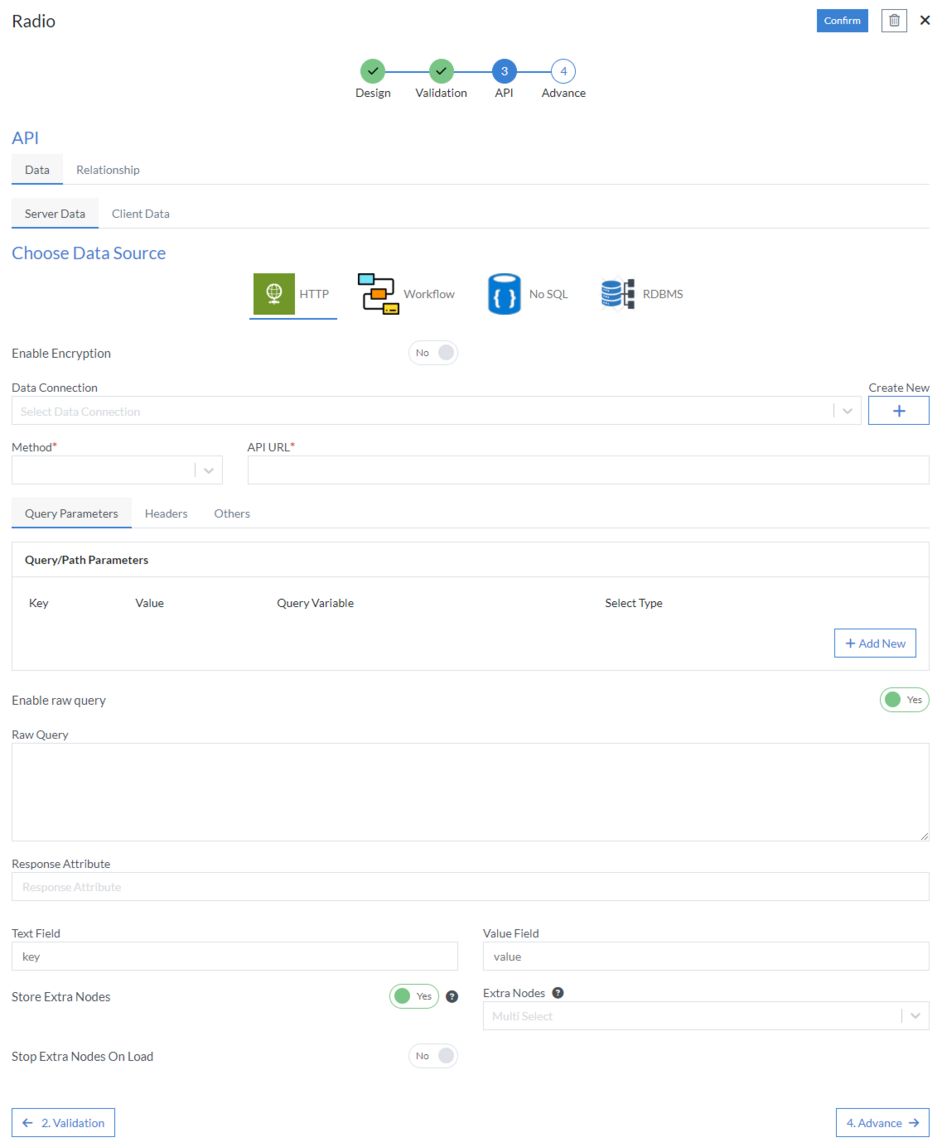
3rd Step – API
- Data
-
Server Data
-
Choose Data Source: Select data source from the following
HTTP, Workflow, No SQL or RDBMS
-
HTTP
- Data Connection
- Method (mandatory): Select method from the following GET, PUT, POST, PATCH, DELETE or POCO
- API URL (mandatory)
-
Query Parameters
- Key
- Value
- Query Variable
- Select Type
-
Headers
- Name
- Value
-
Others
- Enable raw query
-
HTTP
- Enable Encryption
- Response Attribute
-
Choose Data Source: Select data source from the following
HTTP, Workflow, No SQL or RDBMS
-
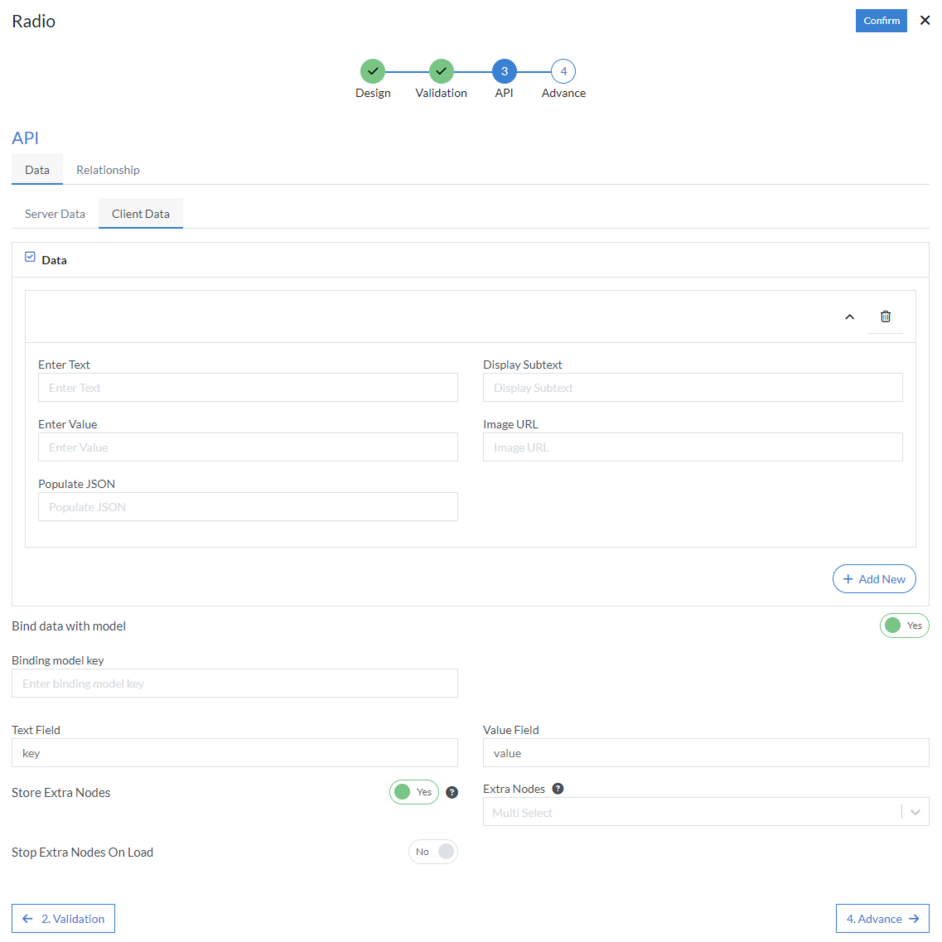
Client Data
-
Data
- Enter Text
- Display Subtext
- Enter Value
- Image URL
- Populate JSON
-
Bind data with model
- Binding model key
-
Data
- Text Field
- Value Field
-
Store Extra Nodes: Store extra dropdown nodes with value field
to Model Json
- Extra Nodes: Enter field from binding api response
- Stop Extra Nodes On Load
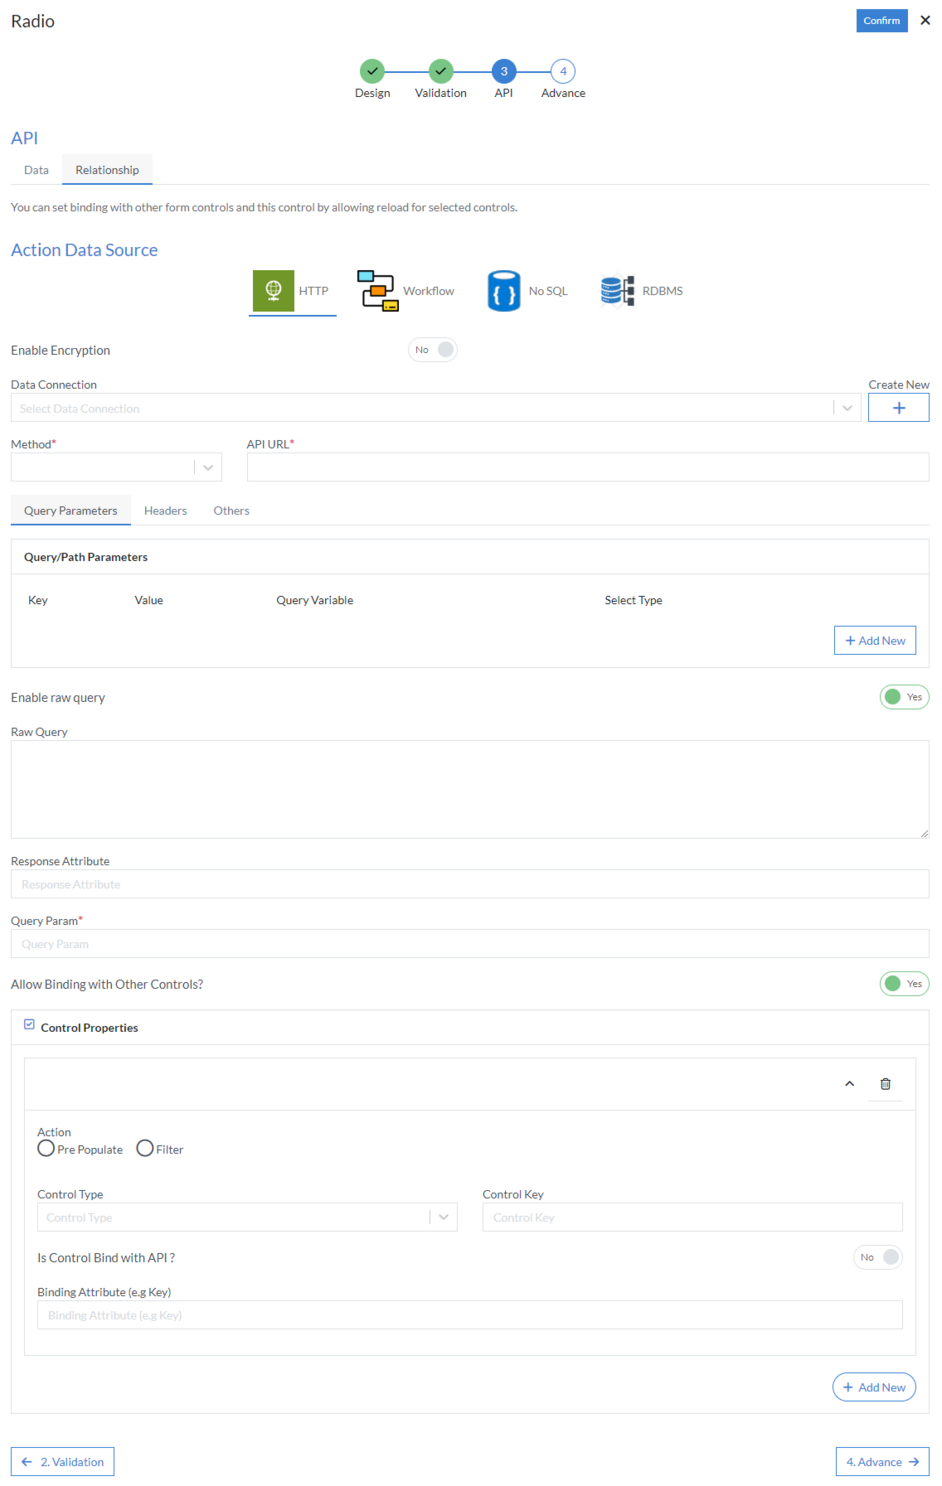
- Relationship
-
Action Data Source: Select data source from the following
HTTP, Workflow, No SQL or RDBMS
-
HTTP
- Data Connection
- Method (mandatory): Select method from the following GET, PUT, POST, PATCH, DELETE or POCO
- API URL (mandatory)
-
Query Parameters
- Key
- Value
- Query Variable
- Select Type
-
Headers
- Name
- Value
-
Others
- Enable raw query
-
HTTP
- Enable Encryption
- Response Attribute
- Query Param (mandatory)
-
Allow Binding with Other Controls
-
Control Properties
- Action: Pre Populate or Filter
- Control Type
- Control Key
-
Is Control Bind with API
- API Binding Field
- Binding Attribute (e.g Key)
-
Control Properties
You can set binding with other form controls and this control by allowing reload for selected controls.
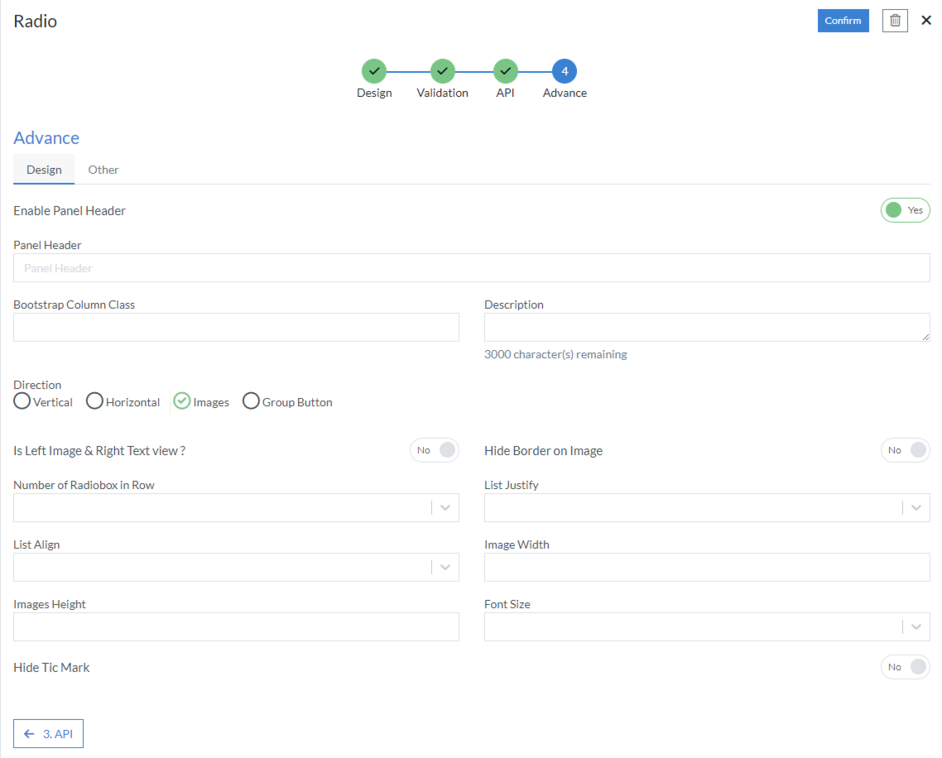
4th Step – Advance
- Design
-
Enable Panel Header
- Panel Header
- Bootstrap Column Class
- Description: Enter extra suggestions for user experience on this field
-
Direction: Select direction from the following Vertical,
Horizontal, Images, and Group Button
- Vertical
- Horizontal
-
Images
- Is Left Image & Right Text view
- Hide Border on Image
- Number of Radiobox in Row
- List Justify
- List Align
- Image Width
- Images Height
- Font Size
- Hide Tic Mark
-
Group Button
- Group Color
- Other
-
Set data model to page variable: Here, you can access page
variable on sidebar
- Page variable
-
Type
- Object
- Array: Key and Value
-
Attach with form wizard
- Form Wizard Key
- Form Wizard Component Form Id (mandatory)
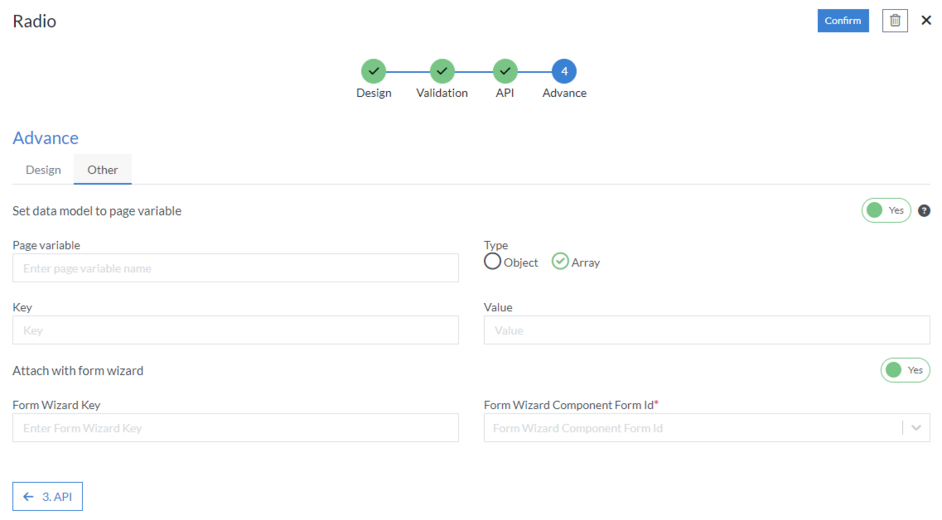
Click “Confirm” and “Radio List” control is configured.