Grid
You have to go through a three-step form wizard to enable this Control, i.e., Design, Validation & Advance. Let’s explain these steps below:
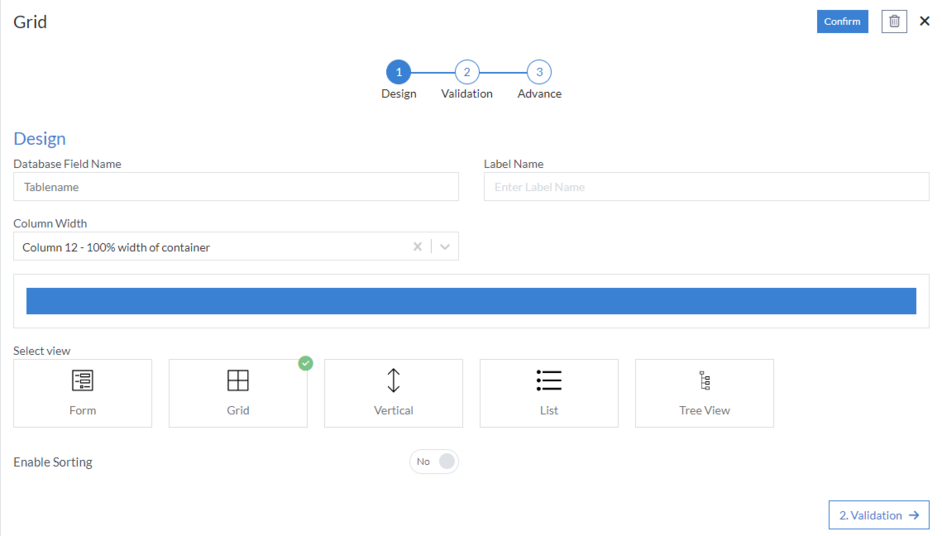
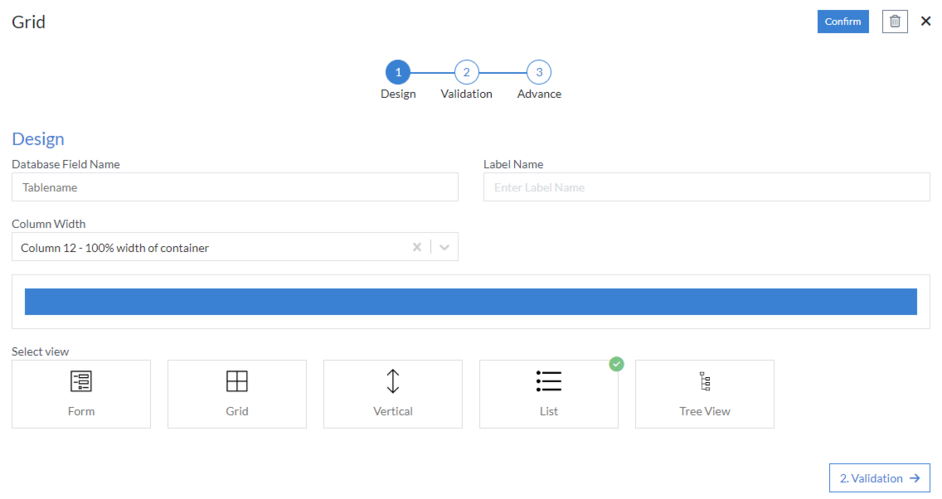
1st Step – Design
This is the first step of the “Grid” layout form wizard. Here you are required to fill in the following details:
- Database Field Name (mandatory): These are the attributes of the form
- Label Name
- Column Width
-
Select view: Select view from the following Form, Grid,
Vertical, List, and Tree View
-
Form
- Header Field Name
-
Grid
- Enable Sorting
- Vertical
- List
-
Tree View
- Header field
- Label CSS Class
- Label Color
- Border Color
- Header CSS Class
- Header Color
-
Form
2nd Step – Validation
- Is Mandatory?: This button is set as “Yes” if you need to apply this Control as mandatory
- Maximum Row(s) allowed: Here you can mention maximum number of rows that you want allow for user input.
- Default Row(s) On First Load

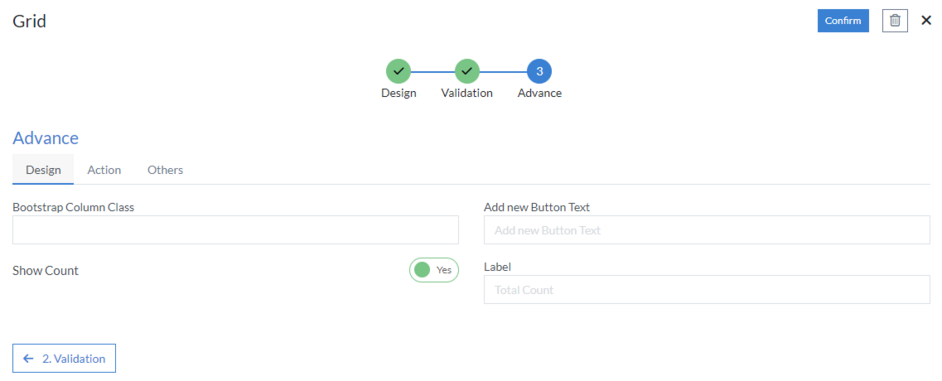
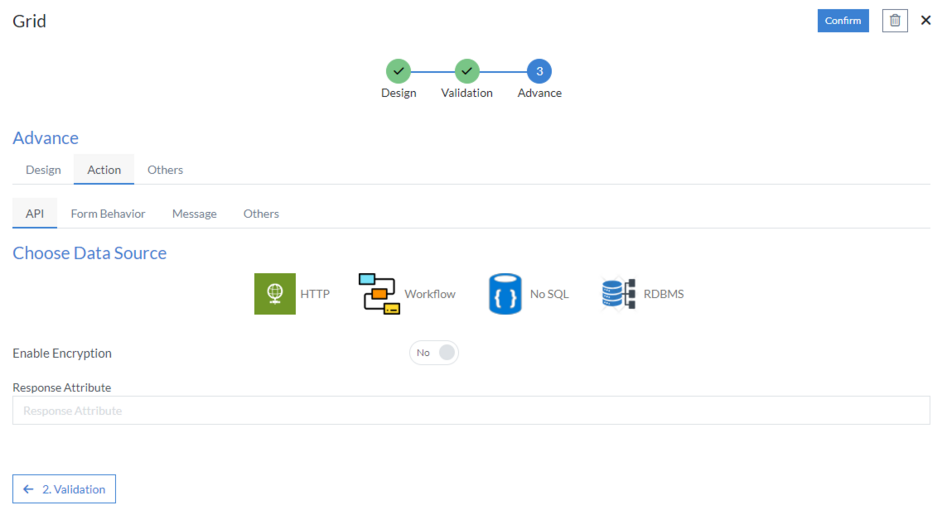
3rd Step – Advance
- Design
- Bootstrap Column Class
- Add New Button Text
-
Show Count
- Label
- Action
- API
- Choose Data Source
- Enable Encryption
- Response Attribute
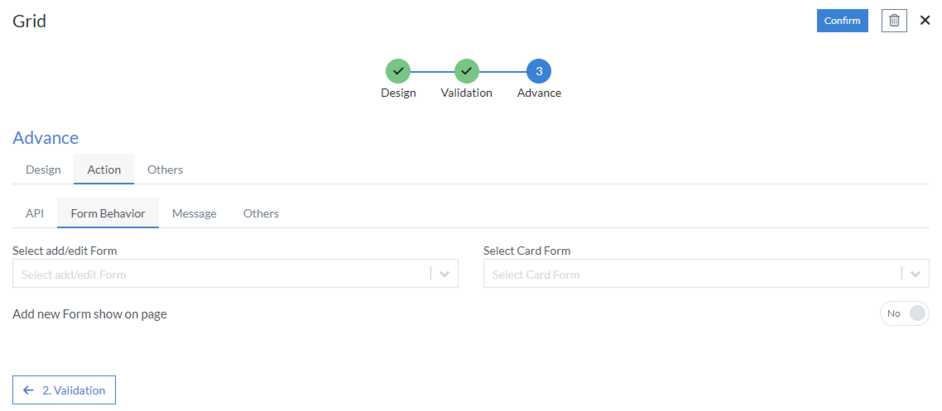
- Form Behavior
- Select add/edit Form
- Select Card Form
- Add new Form show on page
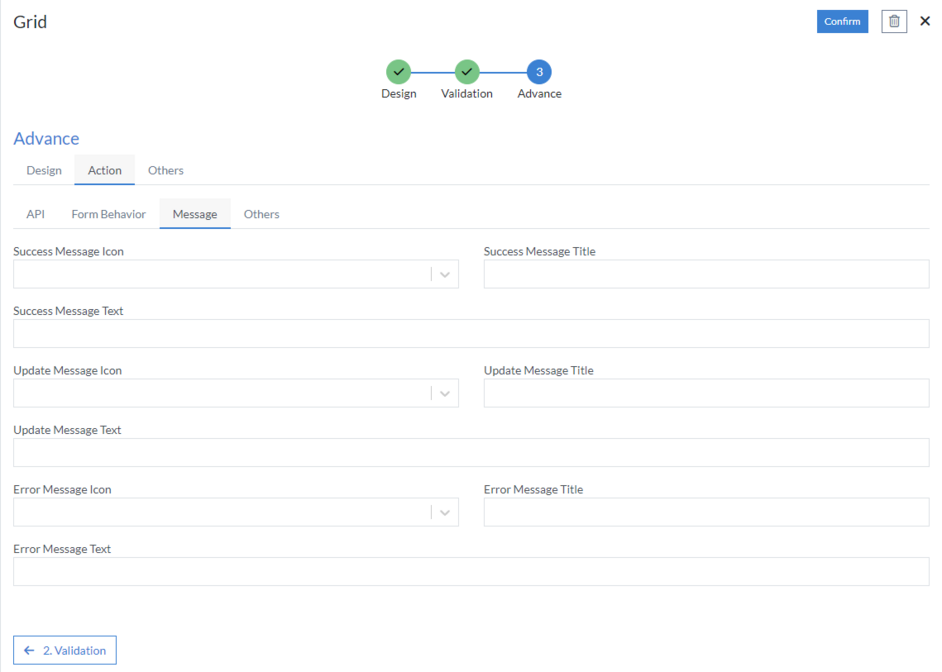
- Message
- Success Message Icon
- Success Message Title
- Success Message Text
- Update Message Icon
- Update Message Title
- Update Message Text
- Error Message Icon
- Error Message Title
- Error Message Text
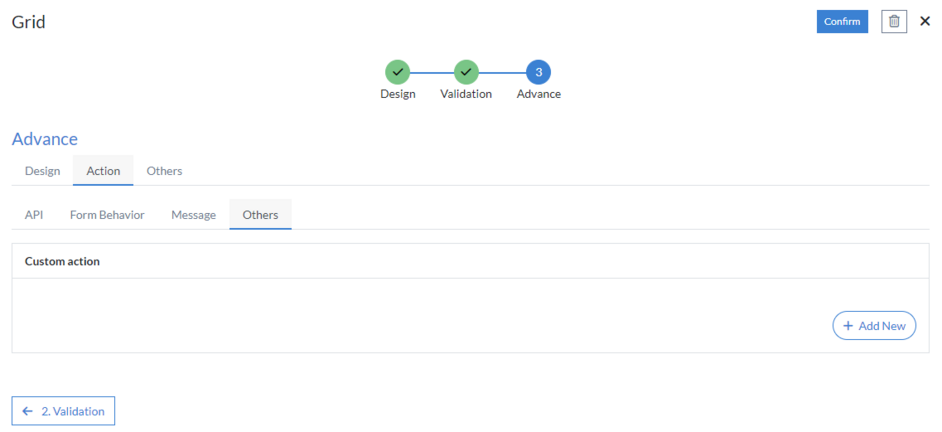
- Others
- Custom action
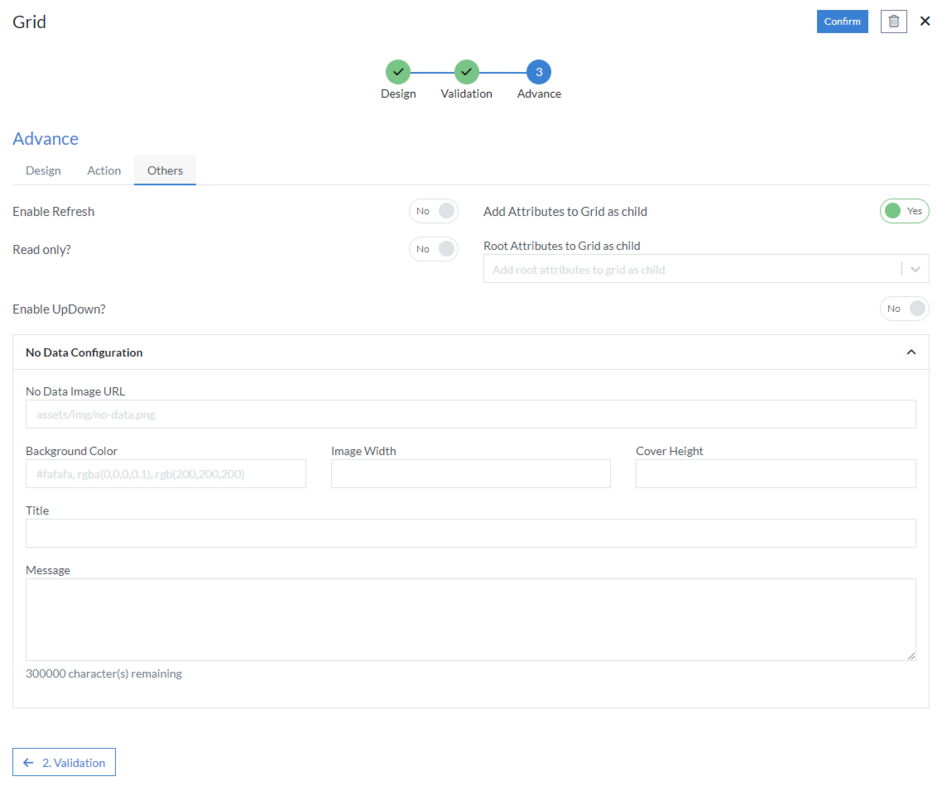
- Others
- Enable Refresh
-
Add Attributes to Grid as child
- Root Attributes to Grid as child
- Read only
- Enable UpDown
-
No Data Configuration
- No Data Image URL
- Background Color
- Image Width
- Cover Height
- Title
- Message
If “Select view” is selected as “List”, then the following actions should perform as follows:
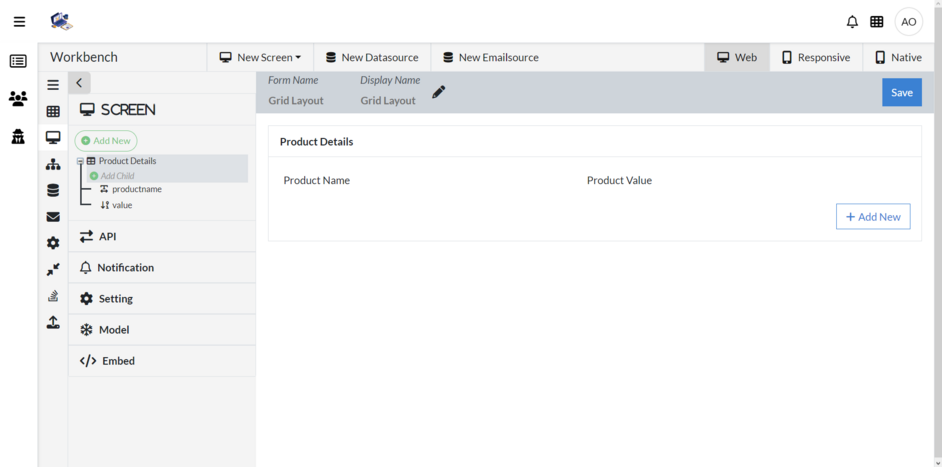
After the Grid is added on the screen we add controls in the grid like Text Box, Number, Email, Phone, etc. like shown below. Everytime we click on the “Add New” button the controls added with the Grid will get created for multiple entries.
Click “Confirm” and “Grid” control is configured.