CMS
You have to go through a two-step form wizard to enable this Control, i.e., Design & API. Let’s explain these steps below:
1st Step – Design
- Database Field Name (mandatory): These are the attributes of the form
- Column Width
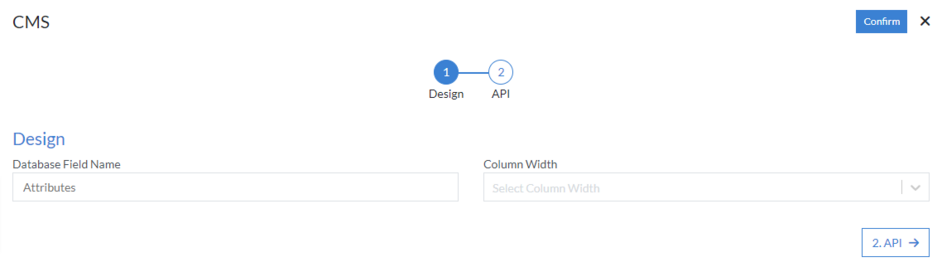
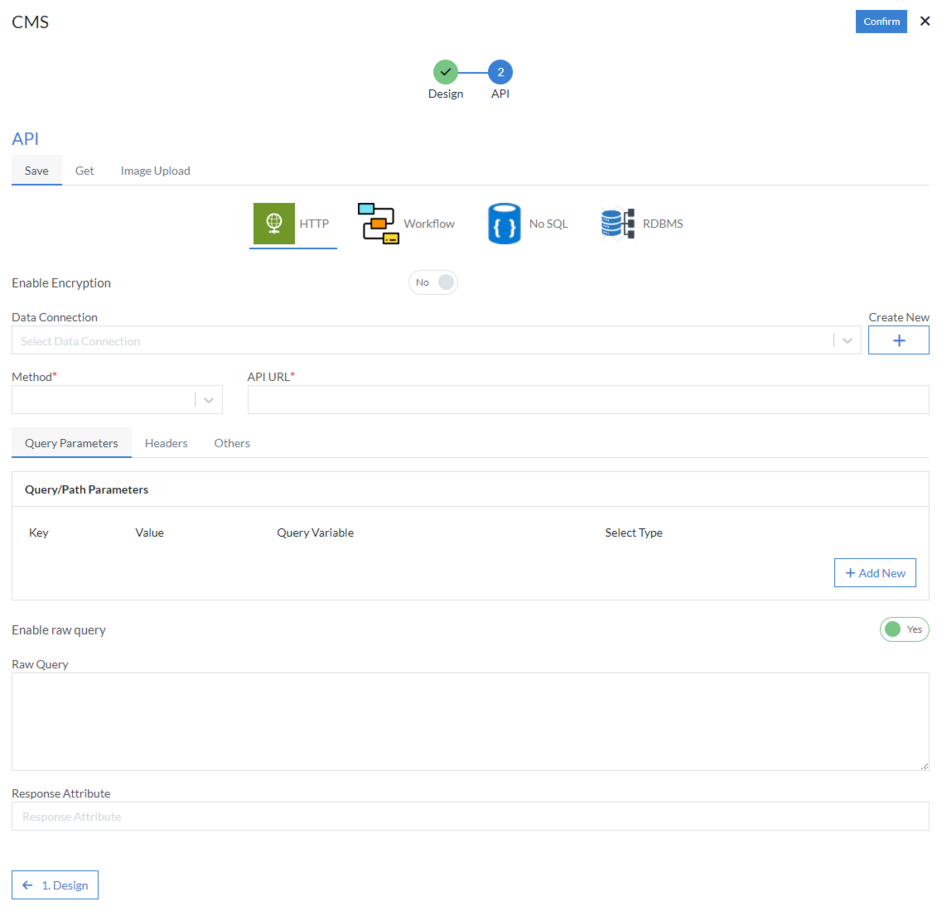
2nd Step – API
- Save
-
Choose Data Source: Select data source from the following
HTTP, Workflow, No SQL or RDBMS
-
HTTP
- Data Connection
- Method (mandatory): Select method from the following GET, PUT, POST, PATCH, DELETE or POCO
- API URL (mandatory)
-
Query Parameters
- Key
- Value
- Query Variable
- Select Type
-
Headers
- Name
- Value
-
Others
- Enable raw query
-
HTTP
- Enable Encryption
- Response Attribute
- Get
-
Choose Data Source: Select data source from the following
HTTP, Workflow, No SQL or RDBMS
-
HTTP
- Data Connection
- Method (mandatory): Select method from the following GET, PUT, POST, PATCH, DELETE or POCO
- API URL (mandatory)
-
Query Parameters
- Key
- Value
- Query Variable
- Select Type
-
Headers
- Name
- Value
-
Others
- Enable raw query
-
HTTP
- Enable Encryption
- Response Attribute
- Image Upload
-
Choose Data Source: Select data source from the following
HTTP, Workflow, No SQL or RDBMS
-
HTTP
- Data Connection
- Method (mandatory): Select method from the following GET, PUT, POST, PATCH, DELETE or POCO
- API URL (mandatory)
-
Query Parameters
- Key
- Value
- Query Variable
- Select Type
-
Headers
- Name
- Value
-
Others
- Enable raw query
-
HTTP
- Enable Encryption
- Response Attribute

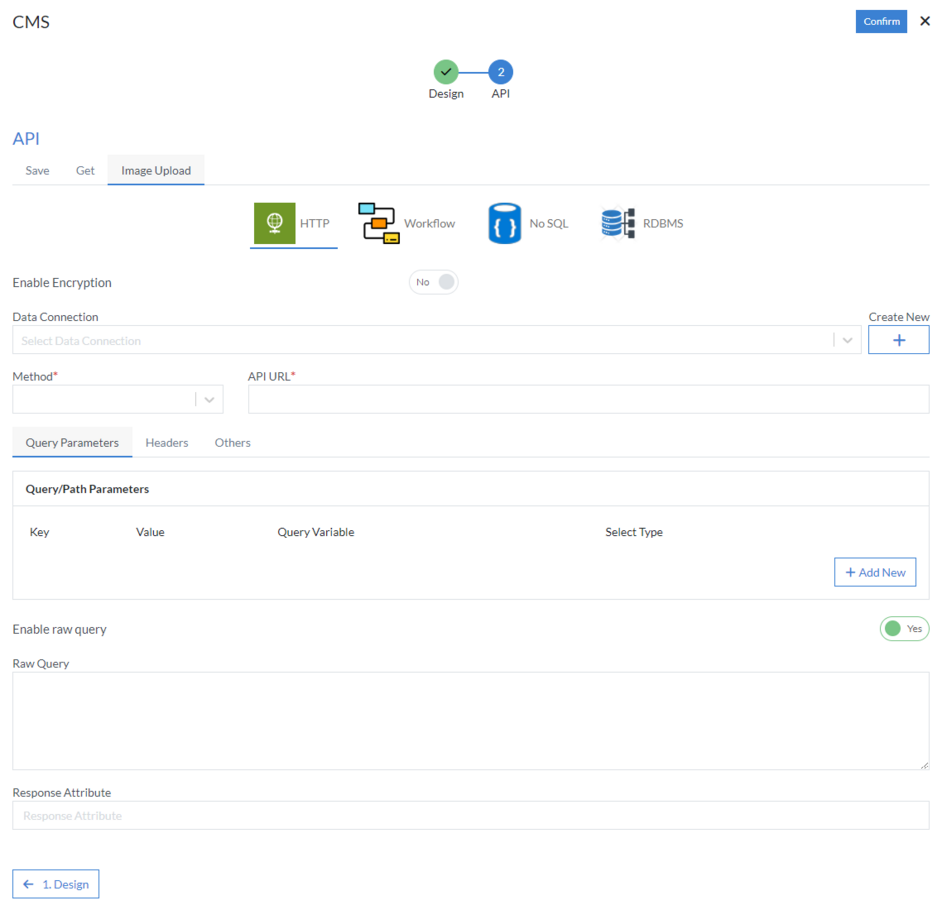
Click “Confirm” and “CMS” control is configured.